If you’re anything like me, you’ve looked at those gorgeous main lesson pages on Pinterest and shamelessly copied every detail. I absolutely confess that when I’m feeling stuck, I turn to Pinterest for a well-spring of inspiration.
But the truth is, those Pinterest teachers don’t always know what spoke most to my students about our lessons. And though I could certainly reverse-engineer my lessons so that those lovely Pinterest pages will appear to naturally align, that does seem a little backward. This well-trained Waldorf teacher knows that the work should respond to the needs and interests of the students — not the other way around.
So, over the years, I’ve given some intention and developed systems (goodness knows, I love a good system) that guide the creation of our main lesson pages.
The Content
The first thing is deciding on the content. The system I’ve developed for this is one of my favorite things. It was an epiphany that absolutely changed my teaching.
You see, when I first started teaching, I allowed the main lesson pages and the review content to naturally arise out of the lesson. Sometimes we would write a composition about the story. Other times we would do a guided drawing. It all just depended on what the content seemed to ask for.
The problem with that approach was that it sometimes meant that we went weeks without doing a guided drawing, or we might do three guided drawings in a week. With this inconsistent and varied approach was that I couldn’t rely on my students getting the skill-building practice that is so essential to their growth. Though allowing the work to naturally arise is probably the most holistic approach, I feel that skill-development is just too important to leave to chance.
The Solution
So a few years ago, I settled on a main lesson review content plan that guides our weekly work. Each week, we work on three main pieces of content:
- An independent composition
- A guided drawing
- A dictation
I could write an entire post about these three pieces of content, but here’s a quick overview.
Composition
I use the term composition to refer to pieces of writing that the students write independently. I prefer this term because it can apply to different types of content — summaries of imaginative stories, reports about animals, etc. It’s a much more useful term than “essay” or “story.”
Usually, we write compositions on Tuesdays (I make sure to tell a really good, image-rich story on Monday so they’ll have lots of ideas), I correct them that night and we put them in our main lesson books on Tuesdays.
Guided Drawing
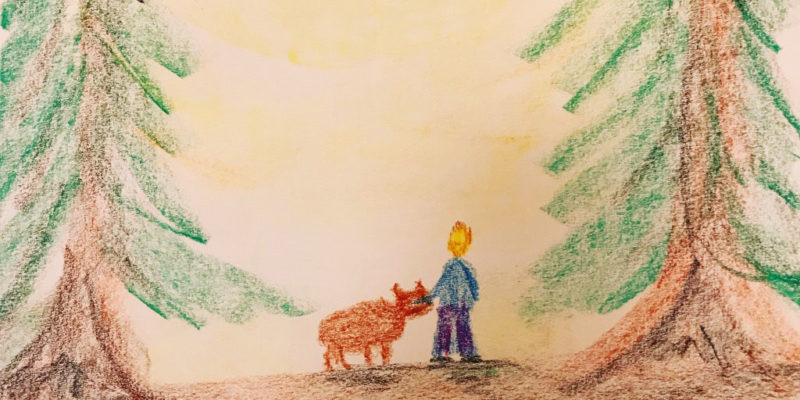
This is a full page drawing that I guide to help work on drawing skills. It’s generally a fun way to remember stories together, while still having a skill-building lesson. We usually do these on Thursdays.
Dictation
I’ve written before about my dictation rhythm here and here — and it’s one of my favorite things. Here’s how it works.
- I create a piece of writing about one of the stories they’ll hear that week (or some sort of overview content). I break that writing down into daily chunks. When we first started in 3rd grade, they got one sentence each day. Now in 4th grade it depends. It’s sometimes more than one sentence.
- Each day I dictate the sentence for the day, they listen and they write it in their dictation book.
- We correct their writing together, and talk about whatever phonics or grammar rules we’re working on.
- Depending on the grade, the students receive a dictation quiz at the end of the week. Now in 4th grade, they’re getting a fill-in-the-blank quiz. I’ve chosen meaningful words for the week, they study them and the fill-in-the blank dictation quiz takes the place of a traditional spelling test. It’s a nice and satisfying way to wrap up the week. You can see a sample of our 4th grade dictation quiz here.
- At the end of the week (or sometimes on Monday of the following week) we put that dictation in our books.
Here are some of the things I love about dictation:
- It allows me to expose the students to beautiful writing. I want them to do plenty of their own independent composition (which I think Waldorf teachers don’t do enough of), but I also want them to be exposed to beautiful writing samples.
- I can naturally incorporate phonics and grammar lessons with content that is engaging and interesting, instead of boring, unrelated grammar exercises.
- Because it is such an essential part of our daily routine, I know that my students are going to practice spelling, punctuation, and grammar every single day.
Okay, so those are the three main pieces of content we work on each week. Now, of course, this is definitely flexible. For example, we often don’t do a new composition during the last week of a block, as we’re finishing things up and getting ready to turn in.
Writing Pages
So, if you’re following along, you’ll see that most weeks we have two pieces of writing that go into our books, so that’s what I’m going to address for the rest of this post.
(I’ll just say briefly, about guided drawings, I’m much less intentional about planning the specific drawing skills we’ll be working on. If I were a more skill artist, I would probably have an art curriculum that I moved through as we completed these guided drawings. Instead, I just let the stories and their images guide our work.)
So let’s talk about how to format writing pages.
First of all — come up with a system that your students will use throughout the year to set up and complete the page. The system that you use will depend on the grade, and maybe even the individual student. You want to give them a structure that will help them keep their writing clear. Here’s what I’ve done.
Grade One — Capital and Lower Case
First grade is all about learning the letters and their sounds — with lower case letters coming at the end of the year. For each letter we drew a picture that had the letter hidden within and we did a letter page that included the capital letter, the lower case letter (we hadn’t filled it in yet on this page) and a few words from the story that begin with the letter.
By the end of the year, we wrote short sentences together, but we were just beginning with that work, so I did not get too intentional about a page set-up system.
Grade Two — Sky, Earth and Water
In second grade, we did much more writing, so we needed a proper system for writing in our main lesson books. I used a page set-up that many Waldorf teachers have used through the years — sky, earth and water.
To set up the page, we used the “mama bear” side of our block crayons (I actually think we started the year with “papa bear” and switched halfway through) and drew stripes across the page in yellow (sky), green (earth) and blue (water). It did a pretty good job of helping us to form our letters properly, though occasionally kids’ lines curved on the page. I was always amazed to see that even with their curved lines, they were careful to make sure that lower case letters stayed in the earth area, while capitals reached up into the sky.
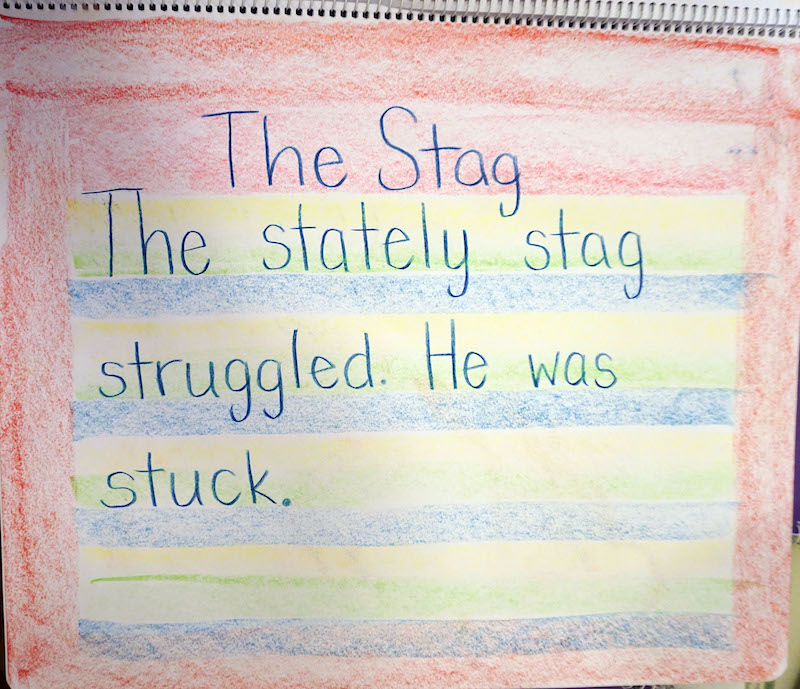
The other benefit of this format was that it gave us good imaginative language for talking about where the letters were supposed to be. Lower case y and g “dip into the water”, while h, k and l “reach up to the sky.”
One other note about second grade writing — if I had a student who really struggled with forming the letters properly, I would not hesitate to switch to traditional primary paper with dashed lines across the middle. We used this paper in our primary composition books for “kid writing” (see this post for more info about that) and I think it really helped kids to know how to form their letters. I started out the year thinking that if it was necessary, I would have kids do their final drafts on lined paper and glue them in to the main lesson books. It just happened that my students did pretty well with the sky, earth and water set-up, so I didn’t worry about it.
Grade Three — Alternating Colors
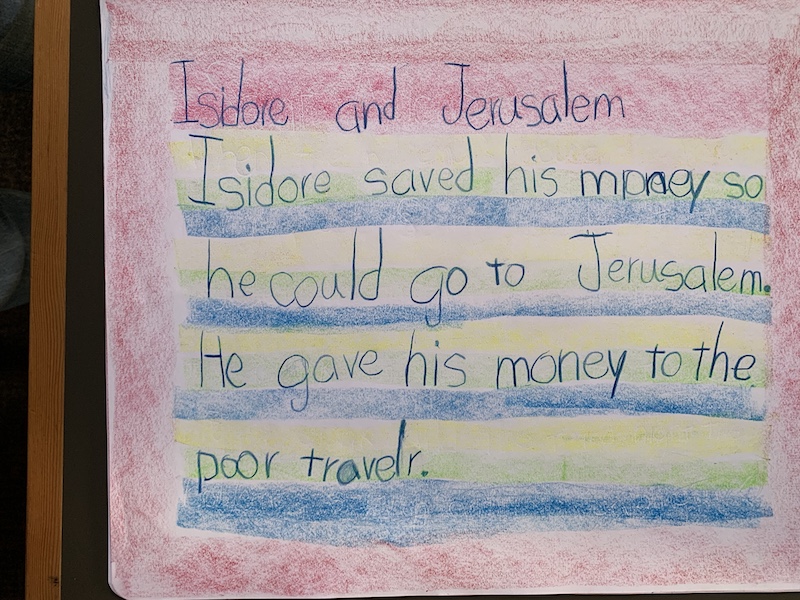
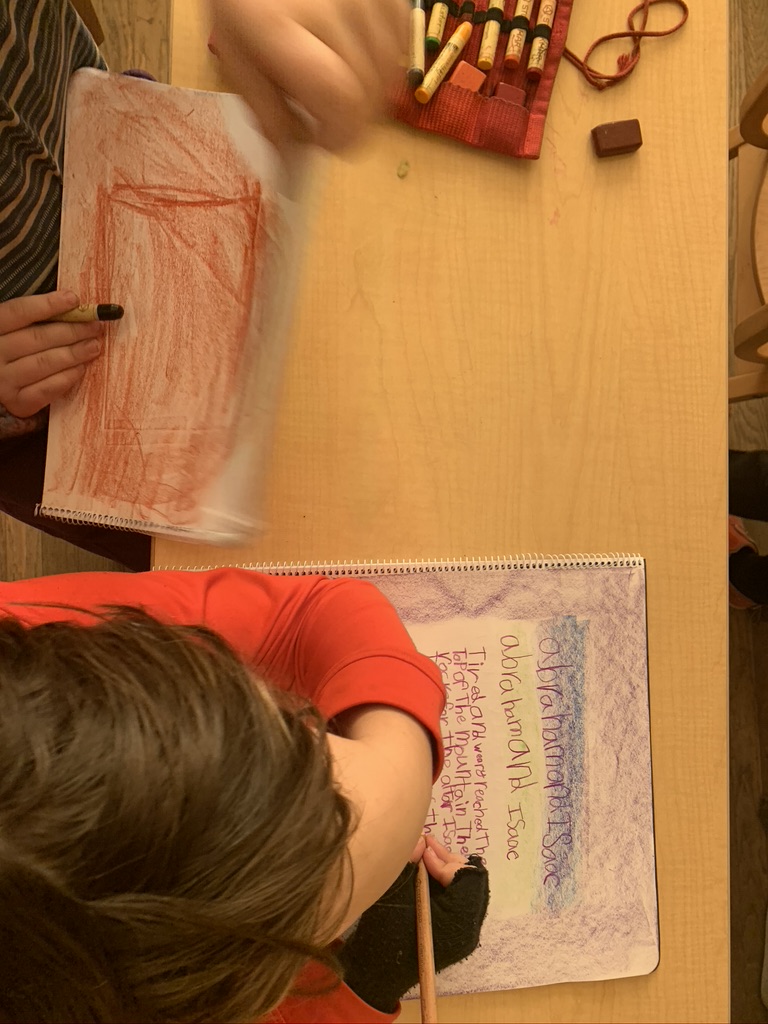
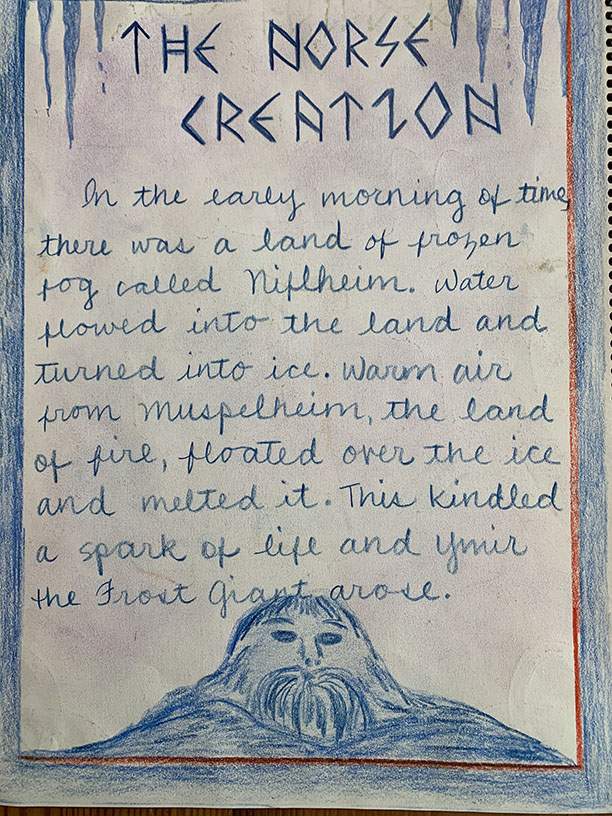
Towards the end of 2nd grade and moving into 3rd grade, my students were writing so much that things just didn’t fit when we used the sky, earth and water set-up, so we switched to using two alternating colors to create lines.
I let go of the imagination to guide their letter formation (they didn’t need reminders about letters that dipped into the water or reached into the sky) and they didn’t really need the dotted center line anymore. So I chose two of the lightest colors (light green and yellow) and we alternated them down the page to create lines.
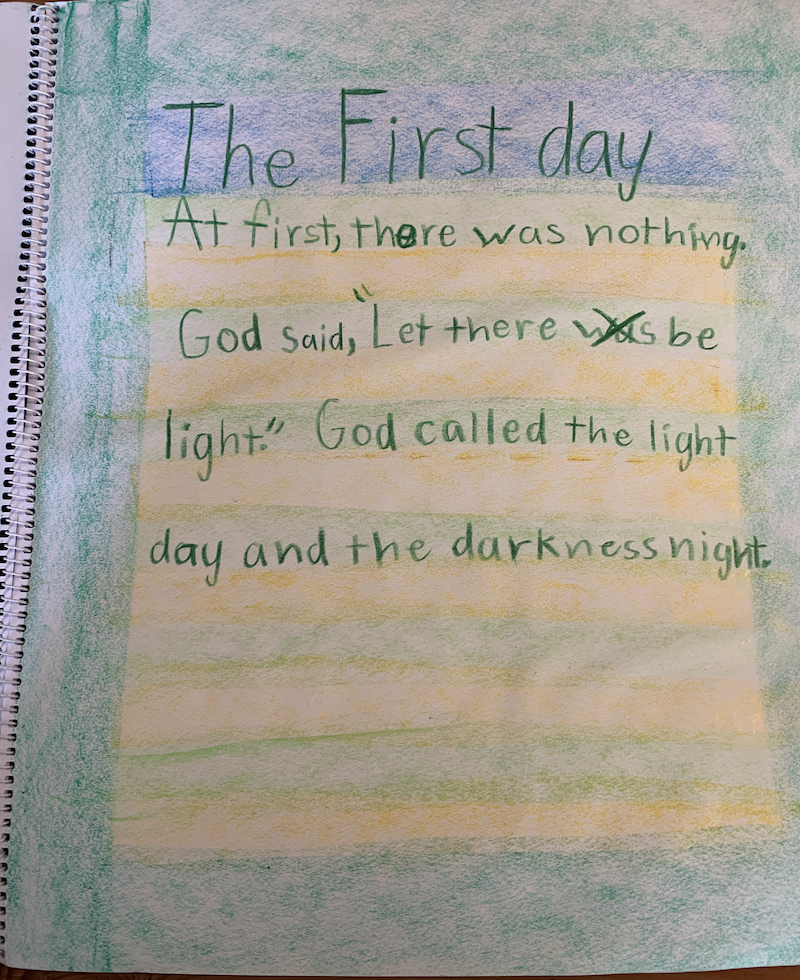
Also, throughout this year I introduced cursive. In about November, our weekly dictation was written on the board in cursive and they copied it into their main lesson books in cursive. I waited much longer before having them translate their own writing into cursive. I did not change the page set-up when we switched to cursive (they probably could have used it, but it just didn’t seem right to come up with a completely different set-up situation for cursive pages.) Instead, I made sure that we did cursive practice on primary paper with the dashed line.
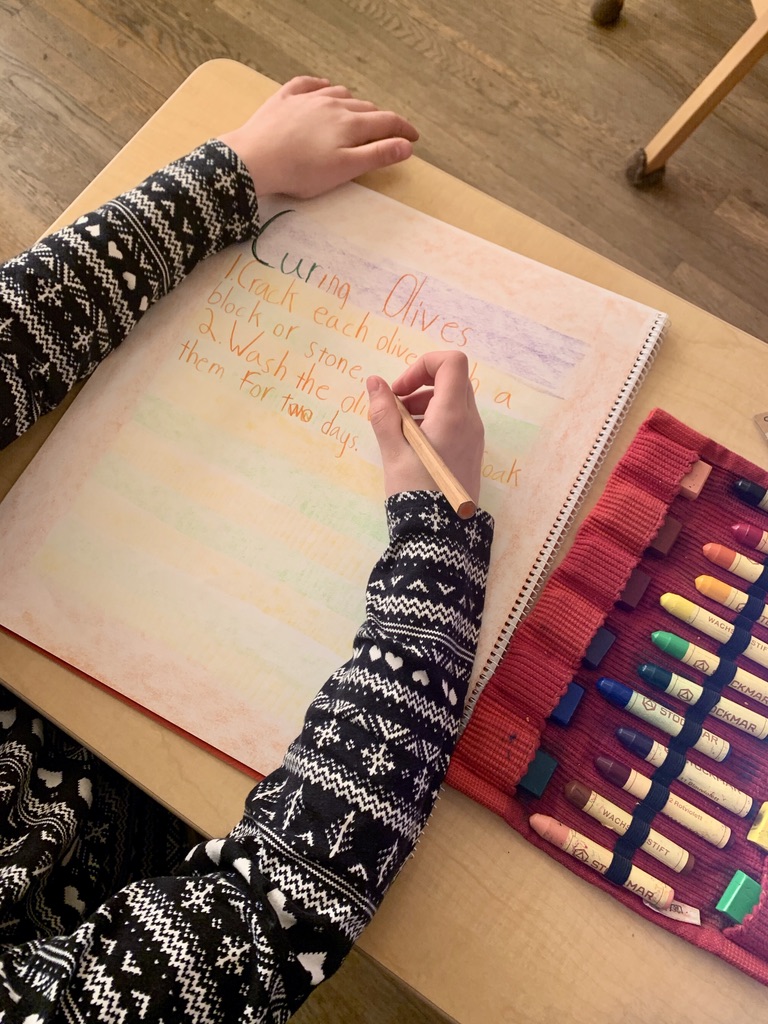
I should also mention that it was March of our 3rd grade year when we closed for COVID. At that point, I provided cursive exercise packets, but completion of that work varied.
Oh, I should also say that throughout the crayon lines years, we used the papa bear side of our crayon to create borders on the pages.
Grade Four — A Wide Liner and One-Line Border
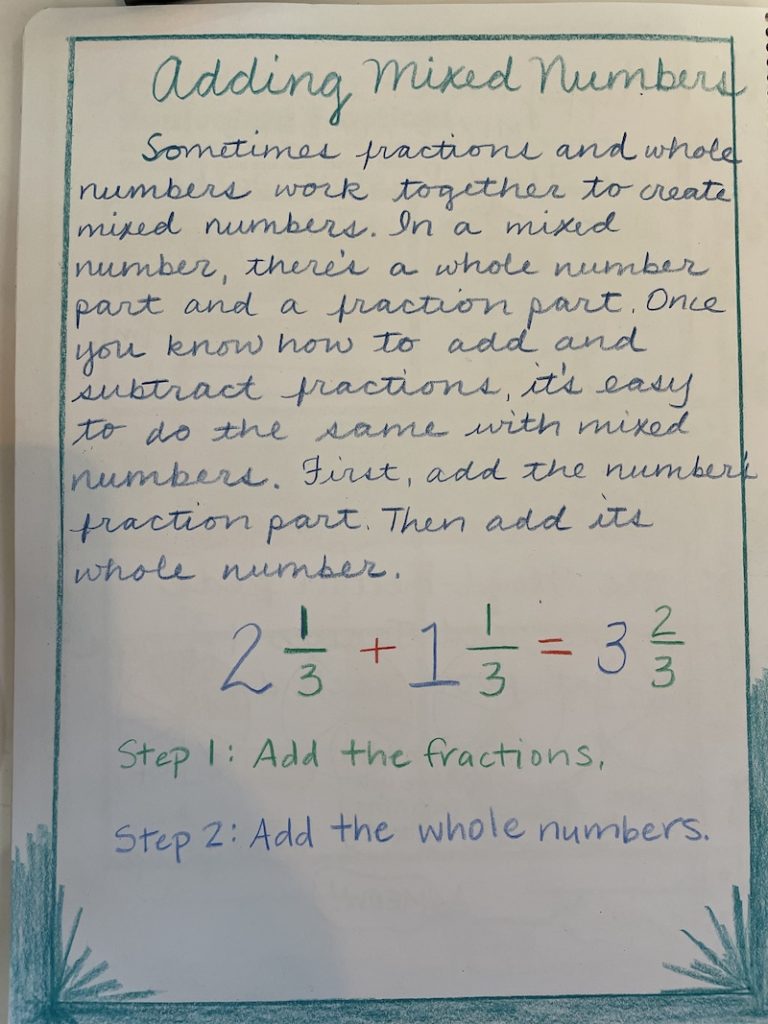
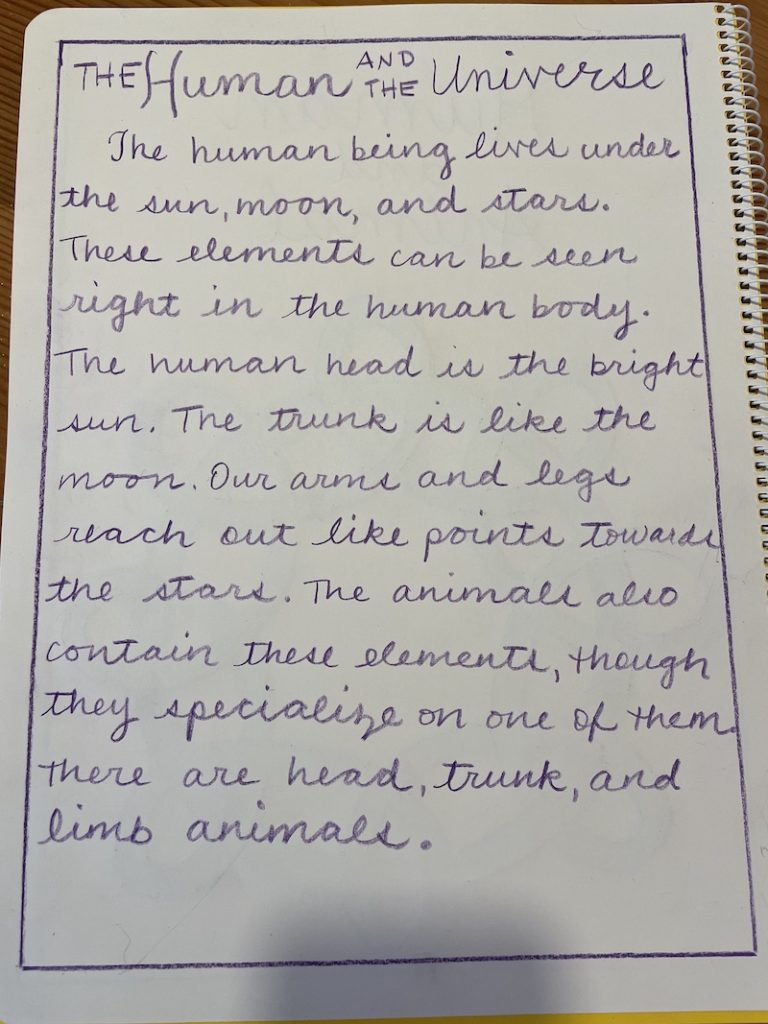
Now we’re in fourth grade and we set up each writing page with a one-line colored pencil border and we put a liner behind the page. I did a lot of experimenting with making liners that were bold enough for students to see through. Somehow finding a liner has always been the piece of our work that has me scrambling.
I much prefer to create it on the computer — usually a Google Doc — but getting the line to be bold enough has been the challenge. I finally figured out the solution, though. If “add a drawing” to your doc, you can make the line as bold as you want. Then you have a perfectly straight, bold line that you can just print (or online students can print themselves.)
If you want your own copy of my 4th grade liner Google Doc, click here and make a copy.
Borders
Though I know that many teachers encourage students to create beautiful, ornate borders, I prefer that my students keep it simple for writing pages. A colleague once mentioned that when you allow that free-for-all creativity in the borders, kids go a little over the top and it brings out astrality. I’ve certainly observed this as students’ borders get crazy-busy with flowers, rainbows, hearts and forest animals. Of course, I give them a chance to do this kind of free-drawing on occasion, but it is with a lot of intention, and not in their main lesson books.
I’m also a firm believer of the idea that freedom comes out of form. Students need to learn how to work within the form and completely understand it before they can overthrow it with their own inspired creativity. In large part, this defines the developmental path through this period, so I look for all kinds of ways to reinforce it. In my view, the middle grades are ALL about defining the form. Strong form and learning structures help students to relax into their learning and focus on strengthening the skills that will become the tools of their future learning.
This emphasis on form is sometimes difficult for free-thinking Waldorf parents to get on board with. I could write a whole separate post about this, but the Waldorf catch-phrase “Education TOWARDS freedom,” really sums it up. We’re not free yet, and these kids won’t be there until they have a fully-developed ego. Between now and then, they’ll have plenty of time to explore form and experiment with overthrowing it.
Drawings to Fill the Page
Figuring out what to do with blank space at the bottom of the page has been a work in progress for me. Because at this point most of the writing we’re putting in our main lesson books are independent compositions, students’ pages have varying amounts of white space at the end. My students’ handwriting is also significantly varied. I have some students who are still getting a grasp of cursive writing and their letters are quite large. Other students have joined the “teeny tiny writing club” that seems to be a pretty consistent trend in fourth grade. (I actually remember going through that phase myself!)
Whenever possible, I try to account for leftover space at the bottom of the page on my own composition, so students have a model of what to do with that extra space. It doesn’t always work out, though. There are plenty of times when my example goes to the bottom of the page, when a student’s work has all kinds of extra room.
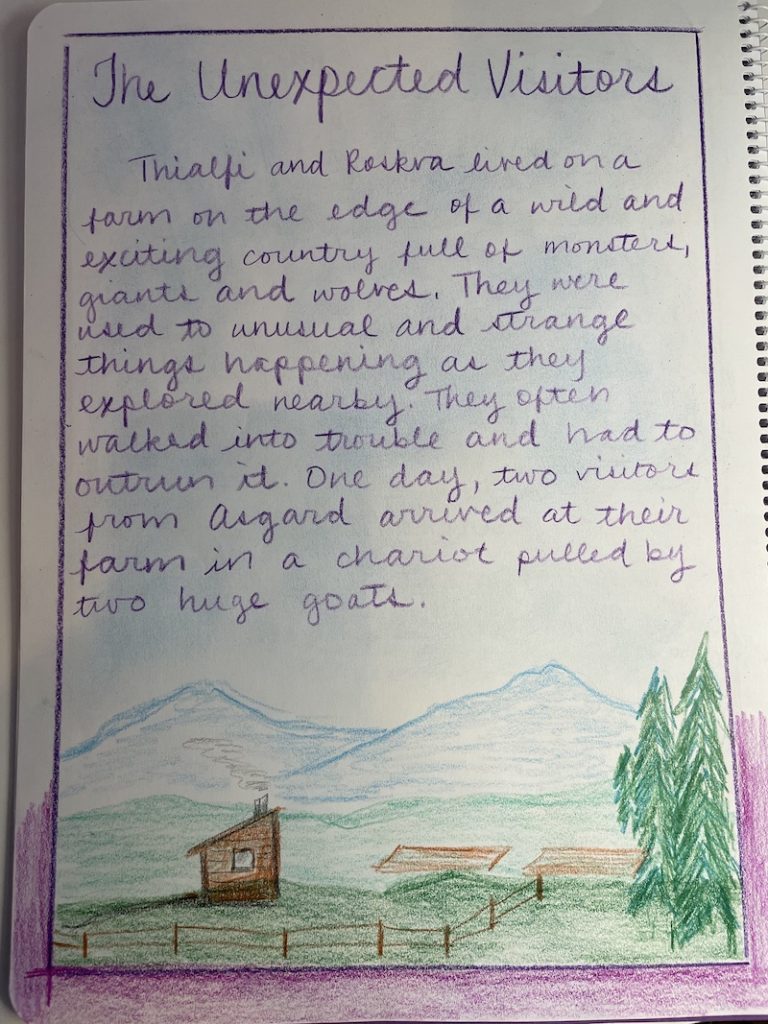
I wish I could be fine with leaving the rest of the page blank, but pages with too much white space just look incomplete to my eye. So when this happens, I tell the students to fill the bottom half of the page with a drawing that aligns with the story. We’ve done enough of them that they know what I mean, but sometimes they get a little out of hand and that astral free-for-all creeps out. Often kids are not satisfied with their own work when this happens, which is a good learning experience for them. Eventually, they’ll know to keep it simple.
The other reason I tend to latch on to this solution is that invariably the students who have extra room at the bottom of the page are those kids who fly through their work. Of course I encourage them to slow down and give more care, but many of them do perfectly lovely work quite quickly. Having them do a drawing keeps them engaged while others finish.
Grade Five and beyond — Getting Creative
Towards the end of fifth grade, we start experimenting with other types of borders. This is still a step-by-step, strongly-led process, though. I want them to have an experience of what kinds of borders tend to work best, and we still have plenty of writing pages that use the good old one-line border.
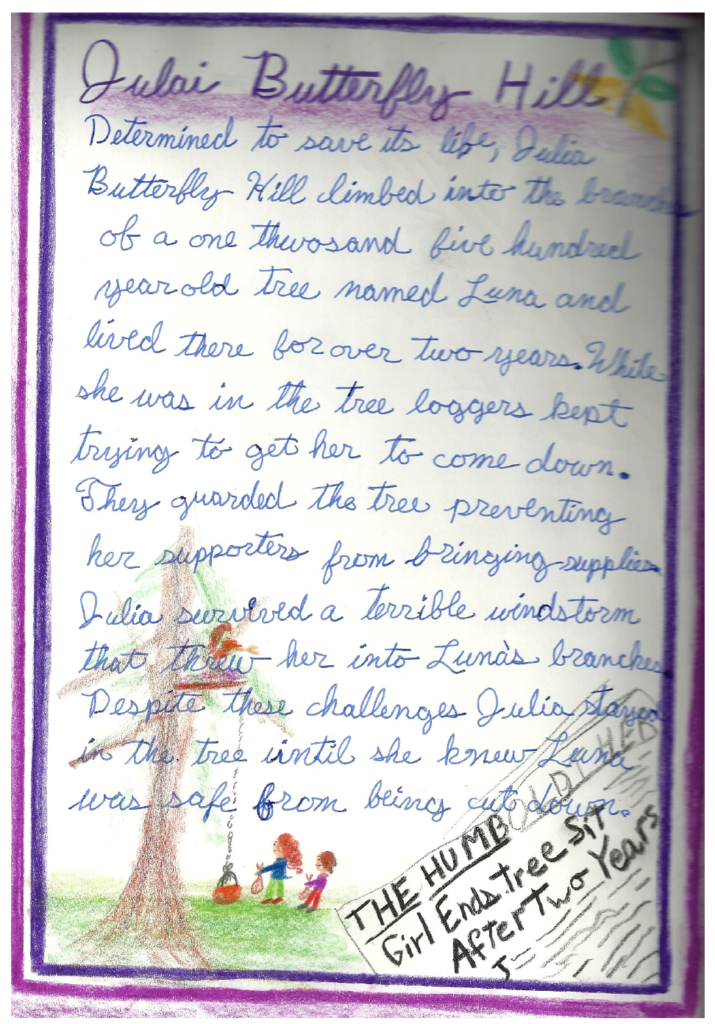
Even in sixth grade, the most successful borders are when they’ve had a model to look at, so I try to do an example for every page through sixth grade. This doesn’t always happen, though. (By the way, last time around, I figured out a good solution for making sure I have a complete book of my own at the end of the block, even if I did some of the work on the chalkboard or was just too busy to make my own page. I had one of the early-finishers do my page while others finished their work. This ended up being quite an honor and they loved working in my book. I loved having work samples from a wide variety of students.)

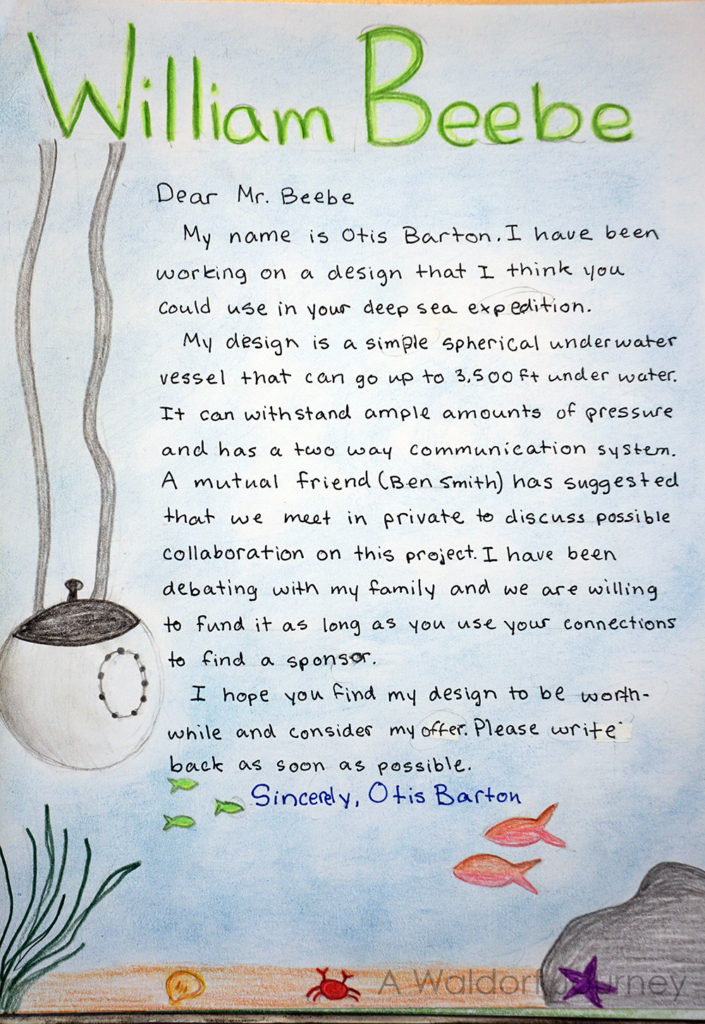
In my view, sixth grade is the last of the super-strong form years (6th graders need a lot of structure, even though they seem ready for more freedom), and by seventh grade they’re ready for much more independence and creativity. Last time around, I remember observing this so clearly in the first block of seventh grade — The Renaissance. I can’t think of a better block to encourage creative, artistic thinking.
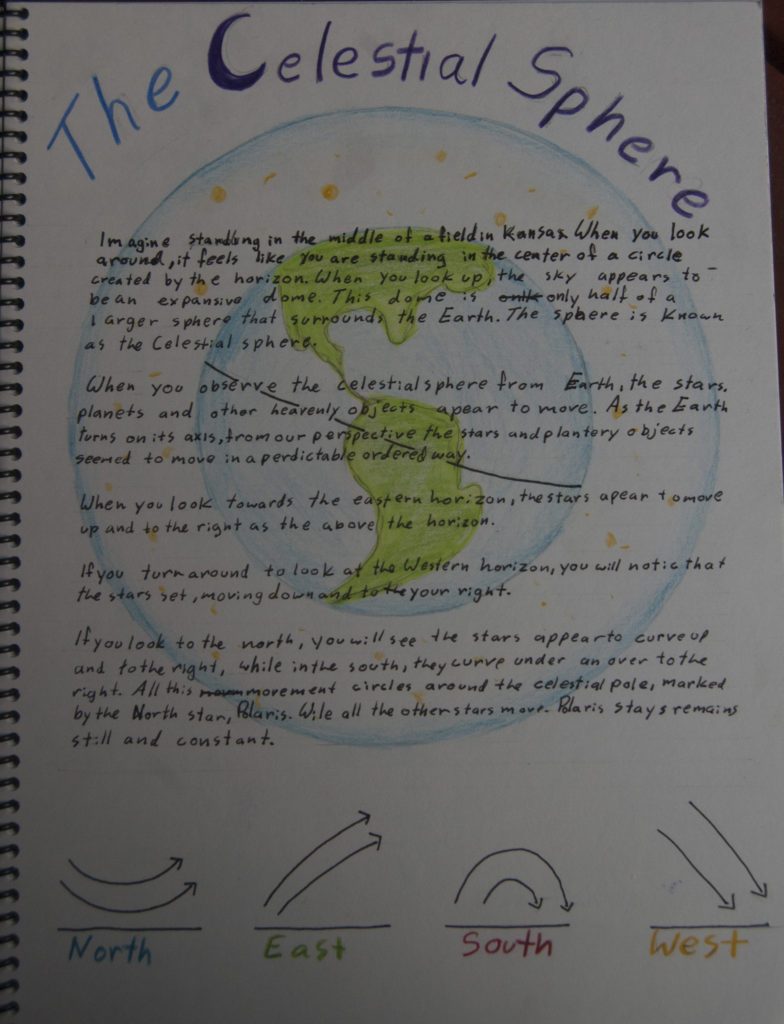
At this point, main lesson book entries can be a combination of writing and drawing. Students can see how drawings can enhance their writing and vice-versa. (Interestingly, even my fourth graders are asking if they can include a sentence on a drawing page so they can tell the story a little better.)
So, that’s the evolution of writing pages in my Waldorf classroom. I can imagine this becoming a series where I go through how drawing materials, writing processes and other classroom practices change through the years.
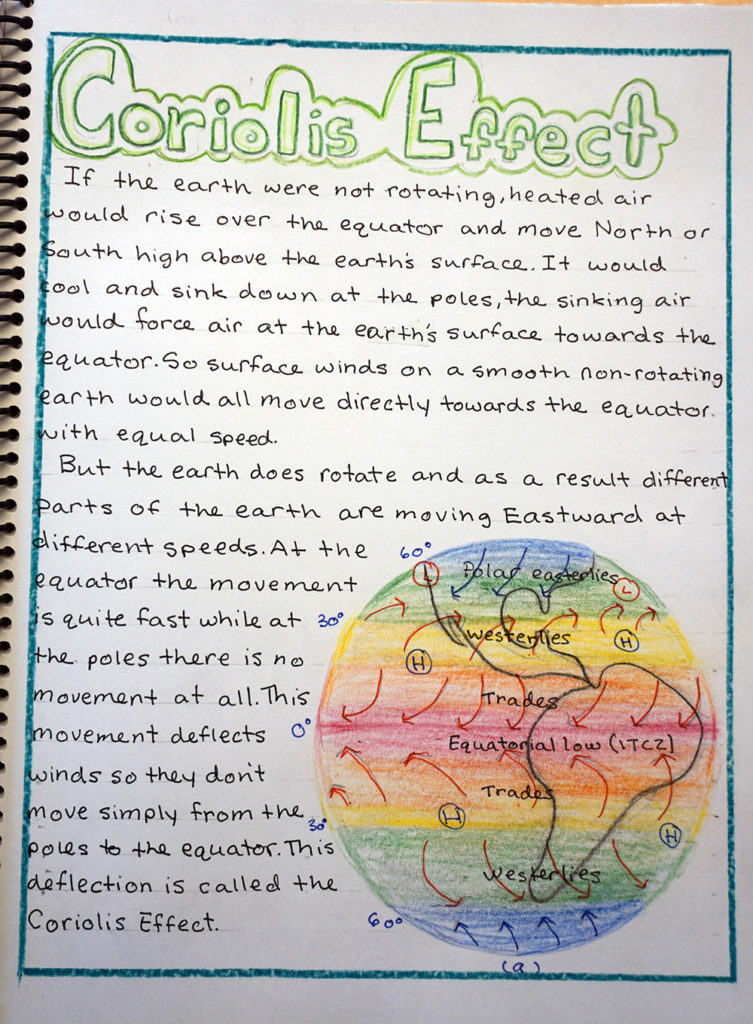
How do your writing page routines compare to mine? Is there something you do differently that is really working? I’d love to hear it! Respond in the comments!


Leave a Reply