Every Monday I have a nice long double period with my class that I have dedicated to art. Occasionally we do other things during that time — it’s a good time for all kinds of different projects — but I try to paint with my class at least twice a month.
A couple of years ago I started planning my painting for the year by drawing little thumbnails in my planning book and it has made such a big difference! The visual arts are definitely not my strength and painting always felt like “one more thing” to plan during the week. I have colleagues who absolutely love painting and they have no trouble coming up with a fantastic watercolor project on the fly. I’m that way about music and grammar, but painting is so much harder. I’m grateful to have found this little planning hack, especially this year with my painting class on a Monday.
Clay Instead of Painting
But during those off weeks, I’m sometimes hard-pressed to find a good project. We’ve made window stars, beeswax modeling, done some free-form crafting and that’s always the perfect time for thank you cards, but until now, I hadn’t ever done clay with my students.
Years ago I came across Arthur Auer’s book on clay modeling called Learning About the World Through Modeling and I remember loving it. The very first clay modeling lesson I ever did was pulled from that book and it was really easy to turn to based on that memory.
Holistic Modeling
One of the things I remember former students struggling with when it came to modeling was that they wanted to pull bits of clay apart and reattach them. It works so much better, and students are so much happier with their result, if they start with a whole piece of clay and push, pull and move the clay around to create the form that they want. Eventually, towards the end of the project, you may have the need to add clay, but the basic form of the object should come from the whole.
So, for this first clay modeling lesson, I set out a few basic rules.
- Do not pull off pieces of your clay. Use your fingers to push and pull the clay around.
- The only tools you may use are your hands. Your desk is not a tool for this clay exercise.
- If your clay begins to dry out, you may dip your fingers into the water, but don’t dip your clay into the water. (I heard a student say, “A little goes a long way!”)
With all of that outlined, we began our clay work.
One Hand Exercise
To begin, we took our handful-sized piece of clay (make sure you don’t give a piece that is too large for your students’ hands) and moved it around in our one hand. Once they had loosened up a bit, I told them to squeeze and then see what their “fist-print” looked like.
After that, they worked the clay, continuing with one hand and molded it into “the shape it wanted to become.” We shared some observations and then repeated the process with the other hand — sharing those observations as well.
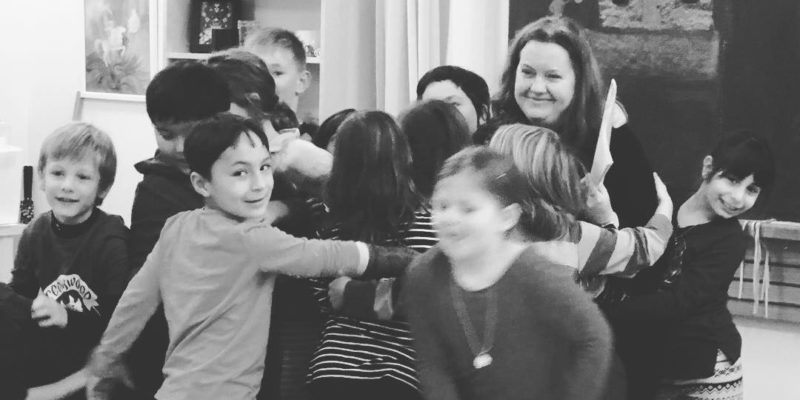
We did all of this in silence. I told them that I wanted them to be able to listen to their clay and to “be alone” with it. My students always want to share their projects with their classmates. Their motivation is perfectly harmless — they want to share the experience. But the end result is often comparison. We work a lot on how to appreciate the work of others and appreciate our own work, but I just wanted their first clay experience to be individual.
Incidentally, this is another thing I think about a lot. I have a large class and there are so many times when I want my students to “be alone” with their work. You know that feeling when you are so immersed in your work that you don’t even notice the people around you? I really want for them to have that immersive experience at times, particularly when writing or doing artistic work.

But this experience is SO hard to create in a large, very social class. It takes discipline and it is something I talk about with them regularly. I’m happy to say that as hard as it is, we do accomplish it at times. Just this morning we had a composition assignment and the students were so occupied with the story they were writing you could have heard a pin drop!
The Sphere
Next, I freed them up to use both hands to create a sphere. My mentor in teacher training always emphasized that we should use the word “sphere” because a ball is something that is meant to be thrown. The last thing we want is for students to be throwing their clay around!
They worked and smoothed their clay until they were happy with their sphere.
The Egg
Next, they were to transform their sphere into an egg. I showed them how to put the sphere in the space between their thumb and first finger, wrap their fingers around and gently elongate one end to create the narrow end of the egg.
I wish I’d taken longer to enjoy this step in the process because as I walked around the room I was astonished at how different their eggs looked. If we’d had a shorter period, we could have stopped right there and admired each other’s eggs.
The Bird
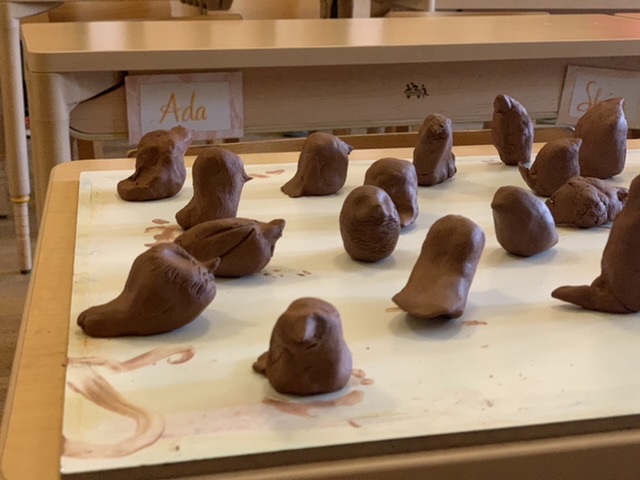
But because we had more time, we continued the exercise to create birds. I showed the students how to pull the narrow end of the egg to create the head and beak of the bird. Then we pulled on the heavier end of the egg to create tail feathers.
With these basic instructions, I let the students continue working on their birds. They pulled a little beak, some used their fingers to create little eye indentations and others made the line where the wing touches the body. They were so cute.
As they worked, I heard them name their little birds and appreciate adorable little things about them. It made me glad that I had warned them that we were not going to keep these projects — they were going back into the clay bin. (But I actually really wish I’d bought clay specifically for the purpose so they could keep their little birds.)


Leave a Reply