We are back in the swing of things and I’m having a great time studying the physics of air and water with the 8th graders.
Note: I’ve now packaged up and put together a curriculum guide for Waldorf Eighth Grade Physics and Meteorology. I’m super-proud of it and I think you’ll find it really helpful!
Now that summer is over and I actually have lesson content to share, I thought I’d go through one of my lesson plans and share it. Some of my students were even kind enough to oblige with some photos of our demonstrations. So, imagine the school bell ringing, and let’s start the day.
8:15-8:45 — Opening with the 7th grade / Artistic work.
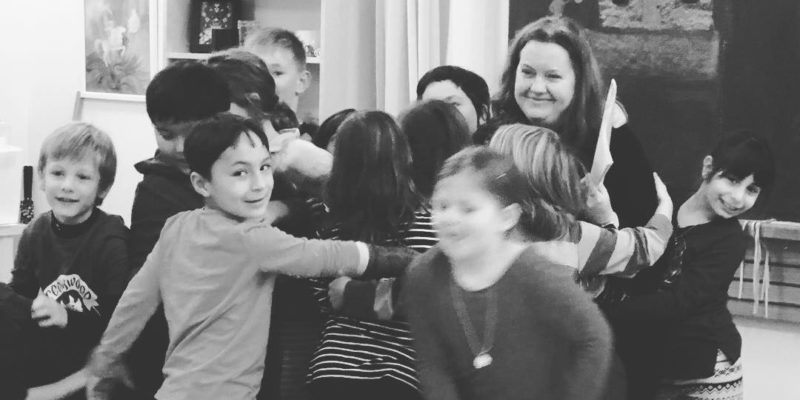
We’re doing a new thing this year where the 7th and 8th graders begin the day together. We speak the verse, say hello to each other and play a game to wake up before we head back to our classrooms for the handshake. Once there, we practice the poem that the 8th grade will speak in the Michaelmas play.
8:45 — New Content
I’m experimenting with something different this year. Instead of reviewing the lesson from the previous day right away, I’m jumping right into the new, interesting material. Jumping right into the thinking/feeling realm feels like just the right way to wake up those sleepy teenagers.
On this day, we continued our discussion of the relationship between pressure and surface area with some new demonstrations.
- Tire pressure gauge — I pulled out a tire pressure gauge and showed the students the markings on the side. They noticed the “psi” marks and talked about seeing this marking on their bicycles. If we’d had more time, I would have taken them out to my car and checked the tires with them. As it was, we observed that the pressure we were talking about in this scenario is the pressure that the air inside the tire exerts against the surface of the tire (not the road.)
- Syringe demonstrations — We did a couple of things with syringes of various sizes. First, I explained to them that I wanted to implement a new classroom management technique that involved syringes squirting water. I asked them if I wanted to reach the back row, would the smaller syringe or the larger syringe be more effective? They all had a chuckle and said I should use the smaller syringe. I demonstrated (there may have been some wet students at this point) and I let students try pressing the plungers on the syringes to see which one was more effective at squirting farther with the same amount of pressure. It was difficult to ensure that we maintained the same amount of pressure on each syringe, but we certainly felt that the larger syringe needed more pressure to be effective.
- The next syringe demonstration was with two syringes that were connected at their tips. The students engaged in a syringe tug-o-war (though pushing, not pulling) and they certainly experienced that the smaller syringe was the hands-down winner every time.
- The final demonstration extended our pressure discussion to involve depth. I had two plastic bottles — one of them had a series of holes around the base of the bottle. I had tape on the holes to begin and then (quickly) talked it through with the students so we could observe. I asked them what they expected to see. They said that the water would squirt out of all the holes equally. I asked them what would happen over time and they said that the streams would go down. One clever student even said that the streams of water would reduce because the pressure above the holes was reducing as the water drained out.
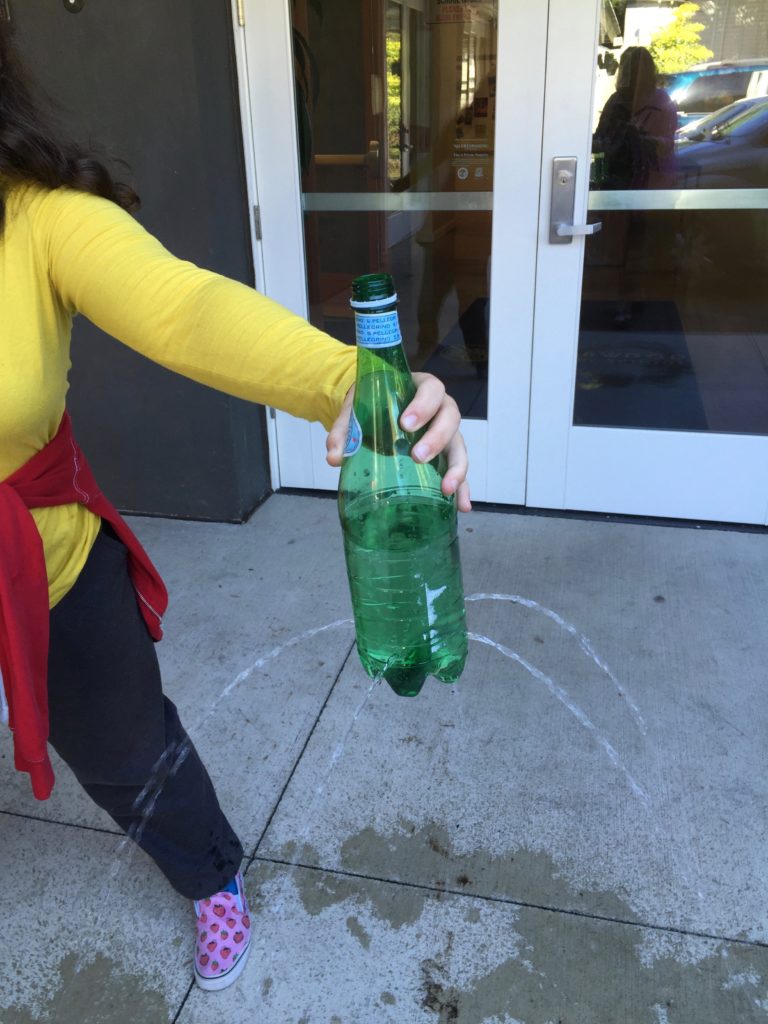
- In the last demonstration, the water bottle has three holes along the side. When I asked the students’ predictions, they said they thought the water would squirt farther from the bottom hole, and less far from each hole further up the side of the bottle. Again, I had taped up the holes and when we were ready we pulled the tape and observed.
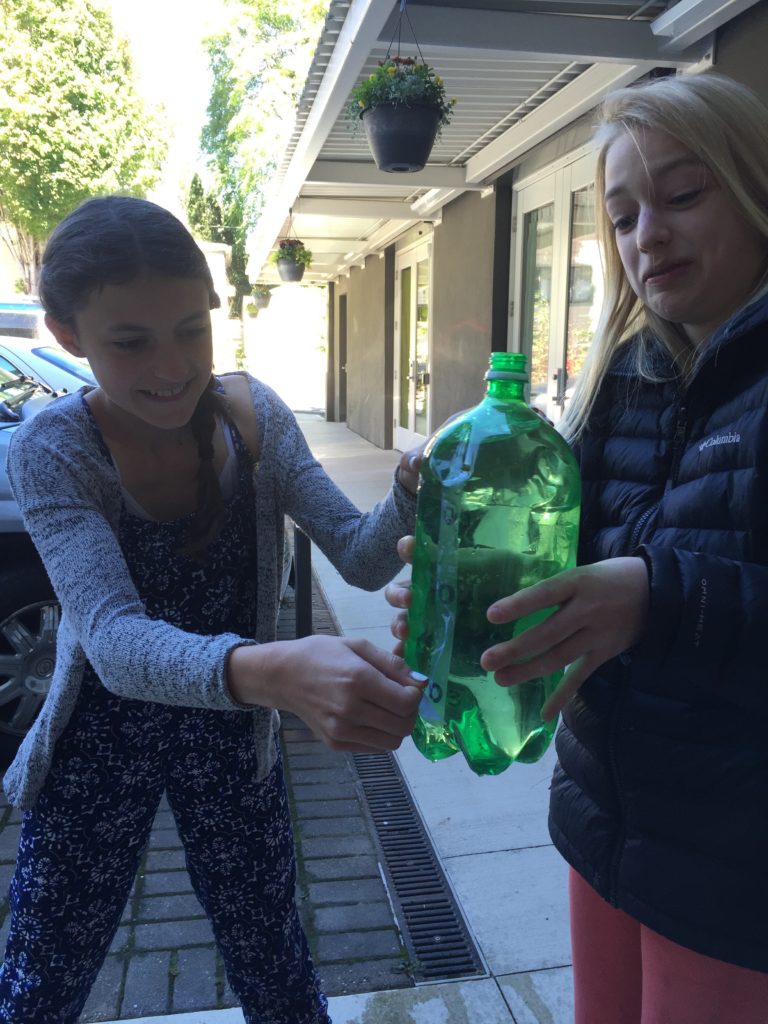
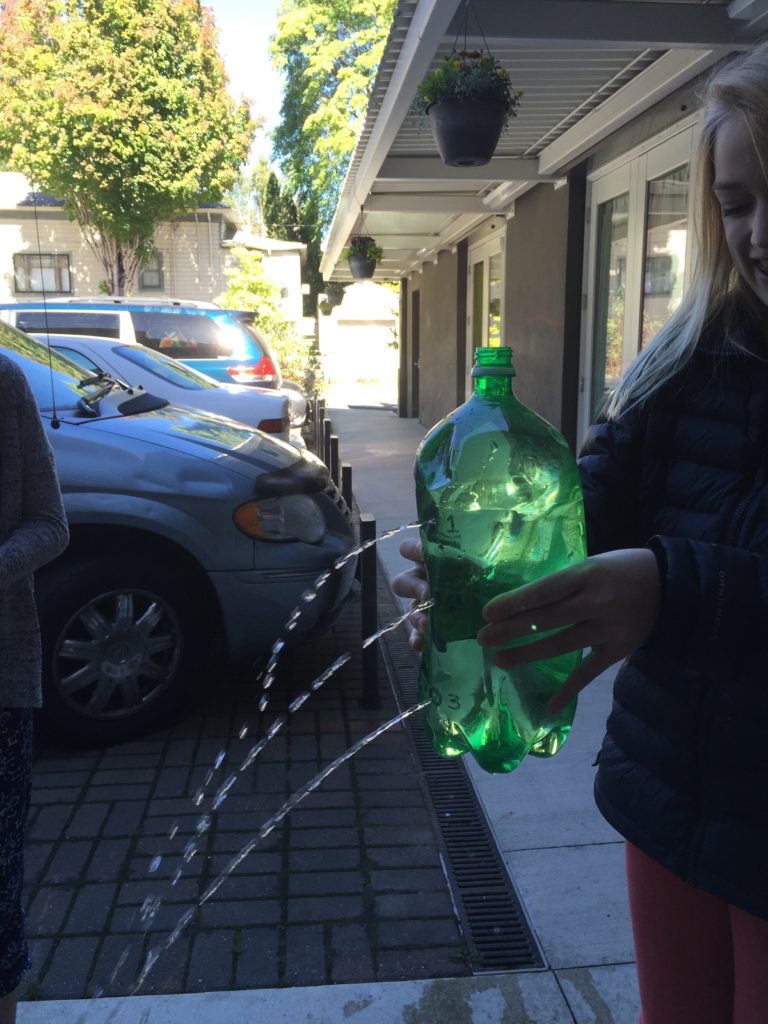
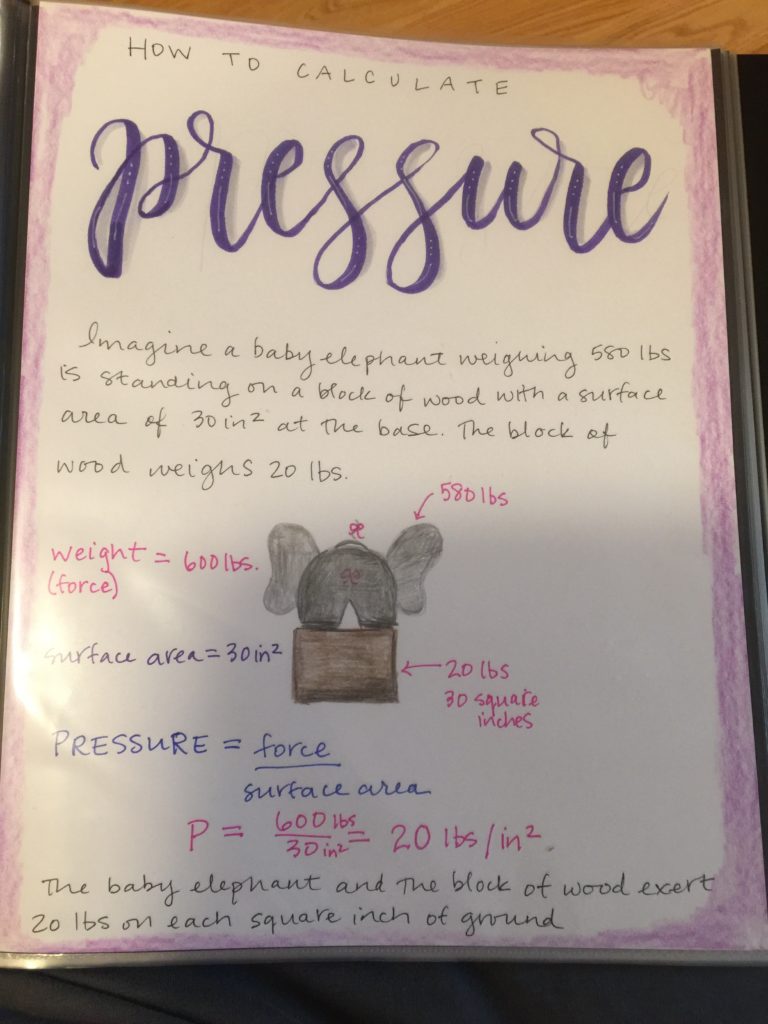
After these demonstrations, we discussed the relationship of depth to water pressure and clarified together how the size of the container doesn’t impact water pressure, but depth does. We did some math using the formula Pressure = weight (force) / surface area to prove to ourselves that the size of the container would not matter.
I then told the students about Marianas Trench and Challenger Deep, the deepest part of the ocean. We marveled together over this last frontier and we talked about some of the people who explored it.
9:45 — Review
The main review content was the formula for the calculation of pressure, and our new content made use of that formula, so our review was incorporated nicely into our new content. I did, however, hand out to the students a practice sheet with some pressure calculations to be done. They made pretty quick work of it.
10:00 — Bookwork
The students set to work on a main lesson page titled How to Calculate Pressure. I had drawn a quick sketch on the board and completed a page of my own as a model, but generally the students are having much better ideas about the composition of their main lesson pages than I am, so I don’t worry too much about giving them an example to emulate. They also get lots of ideas from each other, which I strongly encourage. Here’s a quick shot of my main lesson page.
10:15 — End of main lesson verse and snack.
As I mentioned in my Physics / Meteorology block planning post, I am making liberal use of Mikko Bojarsky’s guidebook for 8th grade hydraulics and aeromechanics (even the baby elephant example is his — many of my students used something different). Mikko’s work is really my favorite when it comes to Waldorf science. If you can only purchase one resource for this block, make it this one. You can get it at the Waldorf Books site.

Leave a Reply